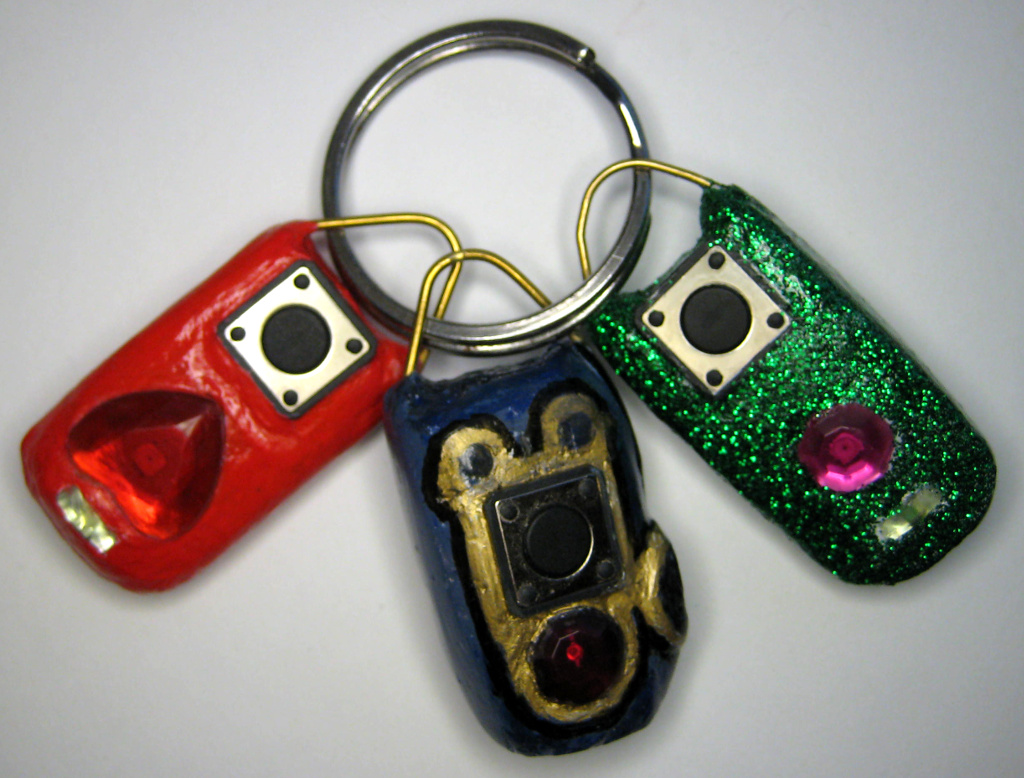

| Red Heart
|
blue/gold : Alien Artefact | Green Miracle |
| Size : | The big pushbutton has a size
of 11 to 12 mm (outer square package). Total size : 4 cm x 2,5 cm including the brasss rod to put it on a keychain. Thickness : about 1 to 1.5 cm (see below) |
| Feature |
Red Heart |
Alien Artefact (blue) |
Green Miracle |
| Thickness | 1.1 cm |
1.4 cm |
1 cm |
| LEDs |
on both sides, light from the bottom is redirected to the pushbutton end and is visible below the button, it shines towards the brass rod |
only on top side. Light is redirected with optic fiber from one end to the other end of arduino. All lights are visible on top. |
on both sides, light from the bottom is redirected to the pushbutton end and is visible below the button, it shines towards the brass rod |
| Reset Button |
Not used/available |
available on the right side
in the image above |
Not used/available |
| Key chain/necklace |
usable |
usable |
usable |
| Side used for LEDs and button |
"bottom side", opposite atmega and eeprom |
top side, the one where the
atmega chip and the eeprom is mounted |
"bottom side", opposite atmega and eeprom |
| Difficulty |
medium to high (parts are not so crowded) |
high (almost all parts on one
side plus reset button) |
high : soldering and
connecting SMDs is more difficult than in Red Heart and
Alien Artefact |
| ToDo |
Time needed |
|
| 1 |
Get the stuff you need. | Days up to weeks, waiting for
delivery |
| 2 |
Prepare Software and program arduino micro pro. | Hours to find the information
and software you need. Setup your language/keyboard for special keys in passwords (time needed: unknown) At the time of writing, danish, german and us-english are available keyboards. Up to one hour to set up your programmer as ISP. Get a proper avrdude command (time needed : unknown) Some minutes to program. |
| 3 |
Glue and solder all your stuff to the arduino board. | Hours/Days, waiting for glue
to cure Soldering will only take some minutes for each part. |
| 4 |
Cover it with repair glue. | One Day, waiting for repair
glue to cure |
| 5 |
Sand and color it. | Hours/days, sanding and
waiting for varnish to cure |
 |
Design and hardware extensions used for Red Heart, Alien Artefact and Green Miracle : tc (thunderchild), Nov 2014 |